Table Of Contents:
- Key Takeaways
- Discovering the Basics of Acoustic Enhancements
- Explain How Sound Waves Interact With Spaces
- Identify Common Acoustic Issues in Rooms
- Assessing Your Space for Acoustic Improvements
- Measure Room Dimensions and Surfaces
- Determine Acoustic Goals Based on Usage
- Exploring DIY Acoustic Enhancement Options
- Create Homemade Acoustic Panels Step by Step
- Utilize Everyday Materials for Soundproofing
- Understanding Professional Acoustic Solutions
- Learn About Advanced Acoustic Technologies
- Consider Custom Acoustic Design Services
- Weighing Costs and Benefits of DIY vs. Professional
- Compare Expenses of DIY Projects and Professional Help
- Evaluate Long-Term Performance and Satisfaction
- Making the Right Choice for Your Acoustic Needs
- Decide Based on Budget, Time, and Expertise
- Plan Next Steps for Optimal Sound Enhancement
- Conclusion
Are you dealing with poor acoustics? Whether it’s echoes disrupting your home office or reverberations affecting a commercial space, the right acoustic enhancements can make all the difference. This guide covers DIY and professional solutions, helping you understand the basics, assess your space, and choose the best approach. We’ll explore materials like Owens Corning and everyday items, address frequency challenges, and show you when to use tools like a staple gun. You’ll have the insights to select the perfect acoustic solution for your unique space by the end.
Key Takeaways
- Understanding sound wave behavior is crucial for effective acoustic enhancement in any space
- DIY acoustic solutions offer cost-effective options but require time and skill for optimal results
- Professional acoustic services provide tailored solutions with advanced technologies for complex acoustic challenges
- The choice between DIY and professional solutions depends on budget, time, expertise, and project complexity
- Proper planning and assessment are essential for successful .acoustic enhancement, regardless of the chosen approach
Discovering the Basics of Acoustic Enhancements

Understanding acoustic enhancements begins with grasping how sound waves interact with spaces. This knowledge helps identify common acoustic issues in rooms, such as reverberation. Whether tackling a do-it-yourself project or seeking professional help, proper measurement and analysis of sound behavior at your desk or in your space is crucial for practical solutions.
Explain How Sound Waves Interact With Spaces
Sound waves interact with spaces through reflection, absorption, and diffusion. When a sound wave encounters a surface like a wall or mattress, part of its energy is reflected into the room. Hard surfaces like concrete walls reflect more sound, while soft surfaces like acoustic panels absorb more energy.
The shape and size of a space also affect how sound waves behave. In larger rooms, sound waves have more distance to travel, potentially leading to echoes or reverberation. Curved surfaces, like those found in some guitar resonators, can focus sound in specific directions, altering the acoustic properties of a space.
Objects within a room can serve as tools for shaping sound. For example, bookshelves or irregularly shaped furniture can act as diffusers, scattering sound waves and reducing harsh reflections. While primarily aesthetic, surface color can indirectly impact acoustics by influencing the materials used, which may have different sound absorption properties.
Identify Common Acoustic Issues in Rooms
Rooms often suffer from excessive reverberation, causing the sound to linger and creating a muddy acoustic environment. This issue frequently arises in spaces with hard surfaces like drywall or concrete, which reflect sound waves rather than absorb them. Acoustic panels made from wood and fabric can help mitigate this problem by absorbing sound energy.
Another common acoustic issue is sound pressure imbalance, where certain frequencies become overpowering in specific areas of a room. This can result in uneven sound distribution, making it difficult to hear clearly in all parts of the space. Strategically placed diffusers, constructed using wood and scissors, help scatter sound waves evenly throughout the room.
Flutter echoes, caused by parallel reflective surfaces, can create a harsh, repetitive sound that degrades audio quality. These echoes often occur between opposing walls or between the floor and ceiling. Addressing this issue may involve applying acoustic treatments with wood glue or installing angled panels to break up the parallel surfaces and reduce sound reflection.
The basics of acoustic enhancements lay the foundation. Let’s focus on your specific space and its unique acoustic needs.
Assessing Your Space for Acoustic Improvements

Assessing a space for acoustic improvements involves measuring room dimensions and surfaces, including plywood, acoustic foam, and boards. This process helps determine reflection points and informs acoustic goals based on usage. Understanding these factors enables effective DIY or professional enhancements, ensuring optimal sound quality for the intended purpose.
Measure Room Dimensions and Surfaces
Accurate measurement of room dimensions forms the foundation for effective soundproofing. Professionals use a laser measure or tape to record the space’s length, width, and height, paying close attention to wall, desk, and ceiling surfaces. This data helps determine the amount of acoustic material needed and identifies potential problem areas.
Surface analysis plays a crucial role in acoustic assessment. Experts evaluate the composition of walls, noting materials like drywall or exposed brick, and identify areas where fiberglass insulation might be beneficial. They also assess the presence of windows, doors, and openings that could affect sound transmission.
The location and characteristics of existing deck fixtures, such as loudspeakers or HVAC systems, are documented during the measurement process. This information guides decisions on the placement of acoustic treatments and helps anticipate potential challenges in the soundproofing process. Understanding these elements ensures a comprehensive approach to acoustic enhancement.
Determine Acoustic Goals Based on Usage
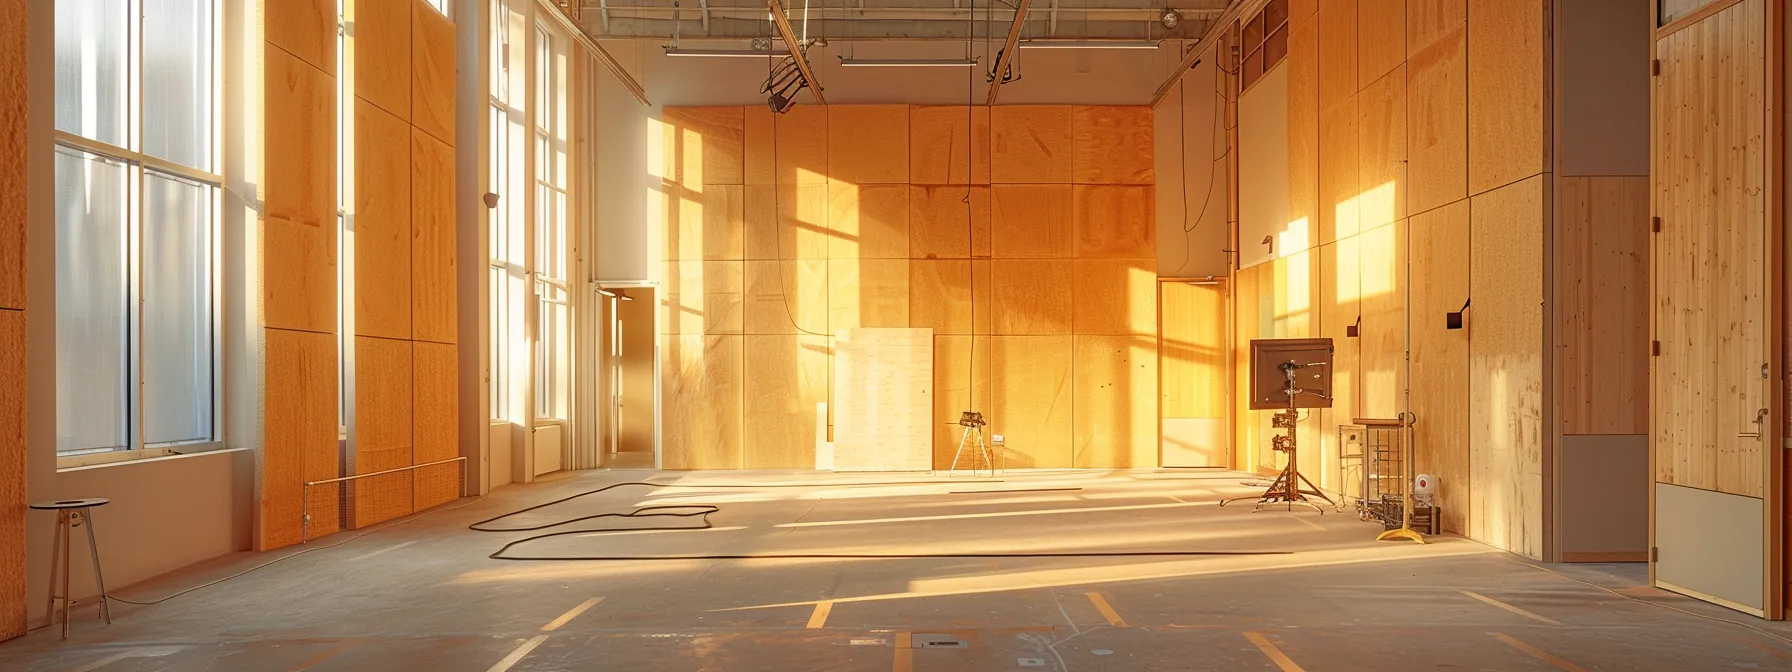
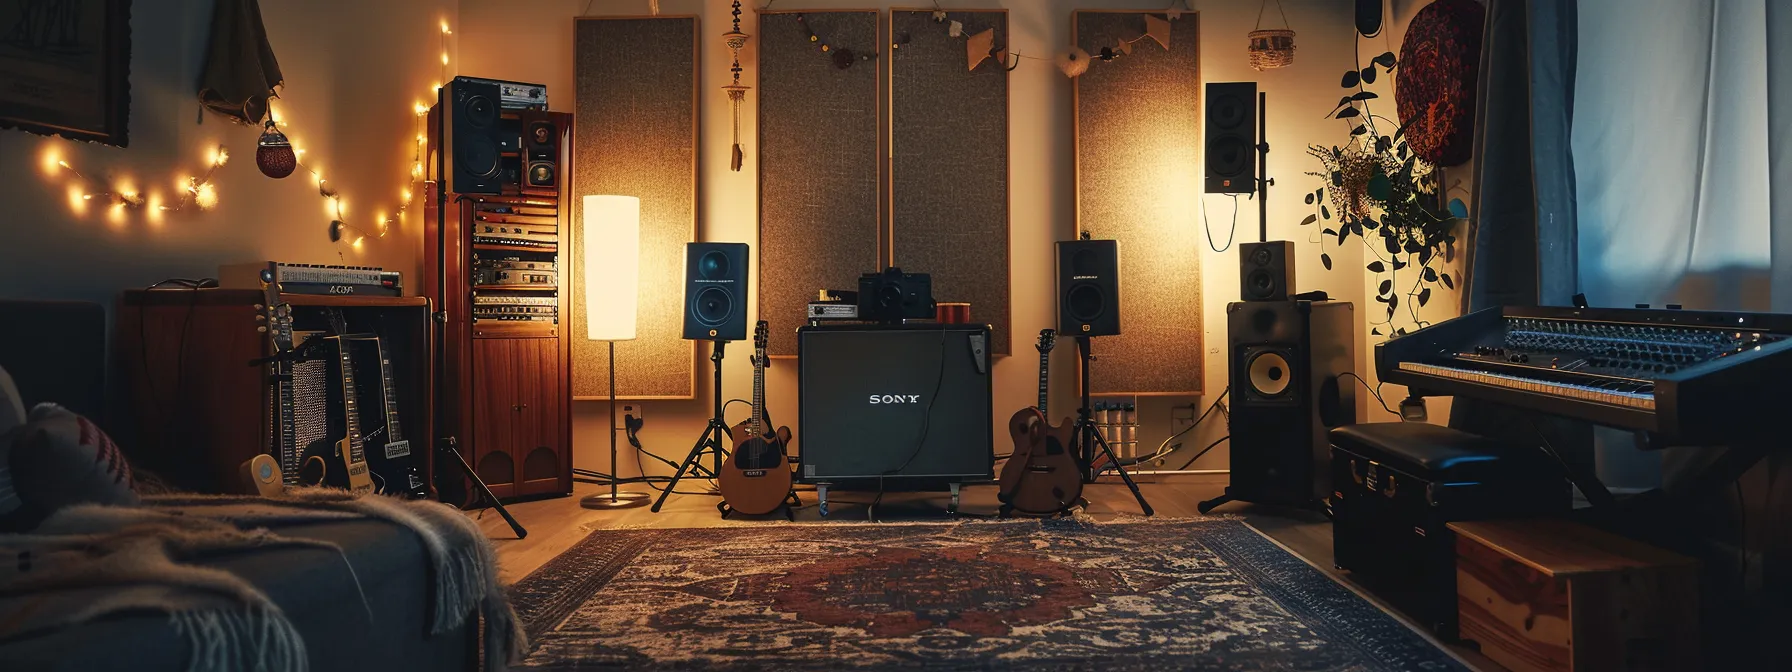
Determining acoustic goals based on room usage is essential for effective sound management. In a studio setting, the primary objective often involves controlling sound waves to create a neutral listening environment. This requires careful consideration of room dimensions and the strategic placement of acoustic treatments to manage reflections and standing waves.
The focus shifts to speech intelligibility and sound distribution for lecture halls or conference rooms. Acoustic enhancements in these areas aim to reduce reverberation time and eliminate dead spots, ensuring clear communication across all room dimensions. Fiber-based acoustic panels can effectively absorb excess sound energy and improve overall acoustics.
In performance venues, the acoustic goals may involve creating a balance between liveness and clarity. This often requires a combination of sound-absorbing and sound-diffusing elements to control the wave behavior of different frequencies. The specific acoustic targets will depend on the type of performances the space hosts: classical music, amplified concerts, or theatrical productions.
Once your space has been assessed, the real work begins. Now, let’s explore how you can enhance acoustics with your own hands.
Exploring DIY Acoustic Enhancement Options

DIY acoustic enhancement offers cost-effective solutions for improving sound quality. This section explores creating homemade acoustic panels step-by-step and utilizing everyday materials for soundproofing. These methods can significantly increase a room’s sound transmission class without professional intervention, from mineral wool to vibration-dampening techniques.
Create Homemade Acoustic Panels Step by Step
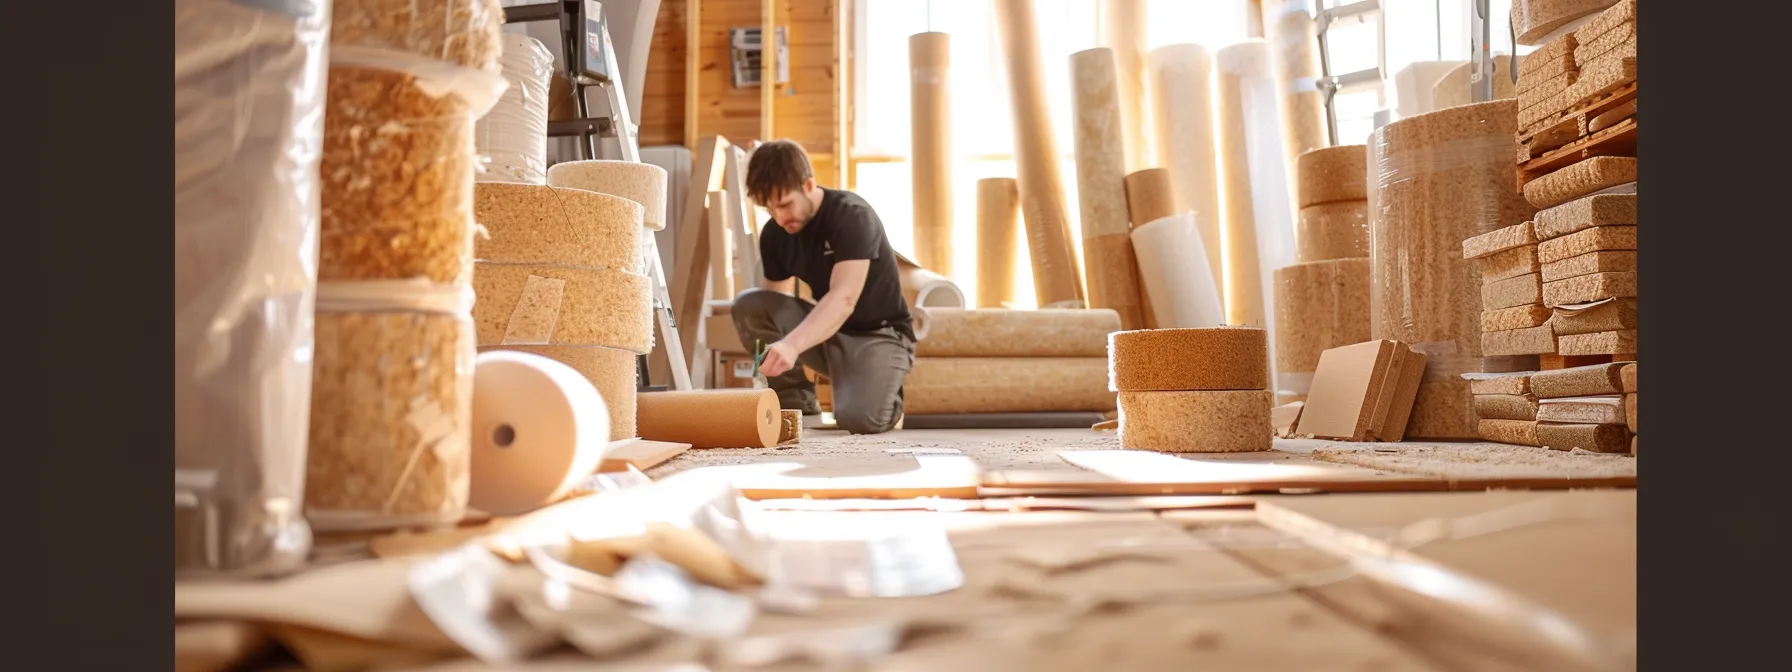
Creating homemade acoustic panels starts with selecting appropriate materials. Carpet remnants or recycled fabric covers the panels, while rigid fiberglass or mineral wool forms the sound-absorbing core. A stapler and screwdriver are essential tools for assembly, and dust masks are used for safety during material handling.
The construction process involves building a wooden frame to house the insulation material. After securing the frame, the sound-absorbing core is carefully inserted and covered with fabric. A stapler attaches the fabric tightly to the frame, ensuring a smooth, professional finish. The completed panel can then be mounted on walls or ceilings using appropriate hardware.
For those seeking convenience, pre-made acoustic panel kits are available from various suppliers to add to the cart. These kits often include all necessary materials and instructions, simplifying the DIY process. However, custom-made panels offer greater flexibility in size, shape, and fabric choice, allowing personalized acoustic solutions tailored to specific room requirements.
Utilize Everyday Materials for Soundproofing
Through DIY methods, everyday materials can effectively enhance room acoustics. Foam mattress toppers are affordable acoustic sound panels that are easily cut and mounted to walls for sound absorption. Framing these panels with wooden borders improves their appearance and durability, making them suitable for various spaces.
Creating bass traps from fiberglass insulation wrapped in fabric offers a cost-effective solution for managing low-frequency sound issues. These DIY traps significantly reduce bass buildup and improve sound clarity when placed in room corners. The materials required are readily available at most hardware stores, making this an accessible project for acoustic enthusiasts.
Repurposing household items for soundproofing can yield surprising results. Heavy curtains or blankets hung on walls act as makeshift acoustic panels, absorbing sound waves and reducing echo. Additionally, strategically placing bookshelves filled with books creates an effective diffusion surface, breaking up sound reflections and enhancing room acoustics without requiring specialized materials.
DIY options have their limits. Professional solutions offer more profound expertise and lasting results.
Understanding Professional Acoustic Solutions

Professional acoustic solutions offer advanced technologies and custom design services for optimal noise control. These solutions encompass specialized materials, precise sound equalization, and tailored installations. Professional services provide comprehensive approaches to address complex acoustic challenges in various environments, from adjustable acoustic curtains to glass-based sound diffusers.
Learn About Advanced Acoustic Technologies
Advanced acoustic technologies leverage the principles of physics to control sound waves effectively. Modern acoustic panels incorporate innovative materials and designs that optimize sound absorption across a wide frequency range. These panels often feature wood-based constructions with specialized core materials to enhance performance.
Professional-grade echo reduction systems employ sophisticated algorithms to analyze and neutralize unwanted reflections in real time. These Systems can adapt to changing room conditions, ensuring consistent acoustic performance. Some advanced solutions even integrate with personal devices, allowing users to fine-tune their acoustic environment through smartphone apps or specialized headphones.
Cutting-edge acoustic diffusers utilize complex geometric patterns to scatter sound waves evenly throughout a space. These diffusers, often crafted from wood or synthetic materials, can be customized to target specific frequency ranges. By combining diffusion with absorption techniques, acousticians create balanced soundscapes that enhance clarity and spatial perception in small and large venues.
Consider Custom Acoustic Design Services
Custom acoustic design services offer tailored solutions for spaces with unique challenges, such as concrete structures or bedrooms with specific acoustic requirements. These services analyze the room’s frequency response and create bespoke treatments that address problematic areas, ensuring optimal sound quality for the intended use.
Professional acousticians utilize advanced modeling software to simulate sound behavior in different environments, allowing for precise placement of acoustic elements. This approach enables the integration of woodworking techniques to create aesthetically pleasing galleries and functionally effective acoustic treatments that complement the room’s design while improving its sonic characteristics.
Custom services often blend materials, including cotton-based absorbers and diffusers, to achieve the desired acoustic balance. Considering factors such as room dimensions, existing furnishings, and the client’s specific needs, these services deliver comprehensive acoustic solutions that far exceed the capabilities of standard off-the-shelf solutions.
Professional solutions offer proven results. But cost concerns linger, prompting a closer look at DIY options.
Weighing Costs and Benefits of DIY vs. Professional

Comparing DIY and professional acoustic enhancements involves evaluating costs, performance, and long-term satisfaction. This section examines the expenses associated with DIY projects versus professional services, considering noise reduction, energy efficiency, and room acoustics. It also assesses the long-term effectiveness of each approach, including the impact of mass and proper bracket installation on acoustic performance.
Compare Expenses of DIY Projects and Professional Help
DIY acoustic projects often cost less upfront, with materials like mineral wool and essential tools such as a drill being relatively inexpensive. However, achieving professional-quality results in a room, especially for low-frequency control, may require multiple attempts and additional expenses.
Professional acoustic services typically come with higher initial costs but offer comprehensive solutions tailored to specific room acoustics and music requirements. These services include expert analysis, custom-designed treatments, and guaranteed performance, potentially saving money in the long run by avoiding trial-and-error approaches.
When comparing expenses, it’s crucial to consider long-term effectiveness and time investment. While DIY projects can be cost-effective for simple treatments, complex acoustic issues often benefit from professional expertise, ensuring optimal results for challenging spaces or specific music production needs.
Evaluate Long-Term Performance and Satisfaction
The long-term performance of DIY Desk acoustic treatments often depends on the quality of materials and construction. While DIY enthusiasts can build effective bass traps and absorption panels using wire and mineral wool, professional treatments typically offer superior durability and consistent performance over time. The longevity of DIY solutions may vary, potentially requiring more frequent maintenance or replacement.
Professional acoustic enhancements generally provide more reliable long-term satisfaction due to their engineered design and precise installation. These treatments, including custom-built diffusers and specialized absorption systems, address specific acoustic challenges more effectively than most DIY options. However, well-executed DIY projects can yield satisfactory results, especially for smaller spaces or less complex acoustic Deck issues.
The satisfaction derived from DIY acoustic treatments often extends beyond performance metrics. Many individuals find fulfillment in designing and building their acoustic solutions. This hands-on approach allows for greater customization and a deeper understanding of room acoustics. Conversely, professional treatments offer peace of mind through guaranteed performance and expert support, which can be particularly valuable for critical listening environments or commercial spaces.
Decisions loom large. The right choice awaits.
Making the Right Choice for Your Acoustic Needs

Choosing between DIY and professional acoustic enhancements depends on budget, time, and expertise. This section guides decision-making, considering factors like broadband absorption and mineral wool usage in basements. It also outlines steps for optimal sound enhancement, helping readers plan their acoustic projects effectively, whether working with limited gear or seeking professional solutions.
Decide Based on Budget, Time, and Expertise
Budget considerations are crucial in deciding between DIY and professional acoustic enhancements. DIY solutions, such as building bass traps from affordable materials, can be cost-effective for those with limited funds. However, professional services offer comprehensive solutions that may provide better value in the long run, especially for complex projects like home cinema installations.
Time investment is another critical factor. DIY projects often require significant time for research, planning, and execution. Individuals with busy schedules might find professional services more appealing, as experts can efficiently handle the entire process, from design to installation. Those with flexible schedules and a passion for hands-on work may find DIY acoustic treatments more rewarding.
Expertise level determines the feasibility of DIY acoustic enhancements. While basic projects like installing acoustic panels or applying sound-absorbing paint can be manageable for most, tasks involving precise density calculations or advanced kit assembly may require professional knowledge. Homeowners should honestly assess their skills before embarking on DIY acoustic projects:
- Basic DIY skills: Suitable for simple panel installation or room treatments
- Intermediate skills: Can handle more complex projects like building custom bass traps
- Advanced skills: Capable of designing and implementing comprehensive acoustic solutions
- Limited expertise: Professional help is recommended for optimal results
Plan Next Steps for Optimal Sound Enhancement
Planning optimal sound enhancement begins with a thorough assessment of the space. This includes measuring room dimensions, identifying problem areas, and determining acoustic goals. Careful consideration of floor treatments and placement is essential for recording studios to achieve the desired sound quality.
The next step involves selecting appropriate acoustic solutions. Choosing suitable materials is crucial for DIY or professional services. Adhesive-backed acoustic panels offer easy installation for quick improvements, while custom-built diffusers may require professional expertise for optimal performance in challenging acoustics environments.
Implementation and fine-tuning complete the enhancement process. For DIY enthusiasts, this might involve experimenting with different panel placements and absorbent materials. Professional services often include post-installation adjustments to ensure the acoustics, whether a home theater or a professional recording studio, meet the space’s specific needs.
Conclusion
Choosing between DIY and professional acoustic enhancements requires careful consideration of budget, time, expertise, and specific acoustic goals. DIY solutions offer cost-effective options and personal satisfaction for those with the necessary skills and time, while professional services provide comprehensive, tailored solutions backed by expertise and guaranteed performance. The decision ultimately depends on the complexity of the acoustic challenges, the desired outcomes, and the resources available to the individual or organization. Regardless of the chosen approach, investing in acoustic enhancements can significantly improve acoustics quality, create more comfortable environments, and enhance overall satisfaction in various spaces, from home studios to commercial venues.


