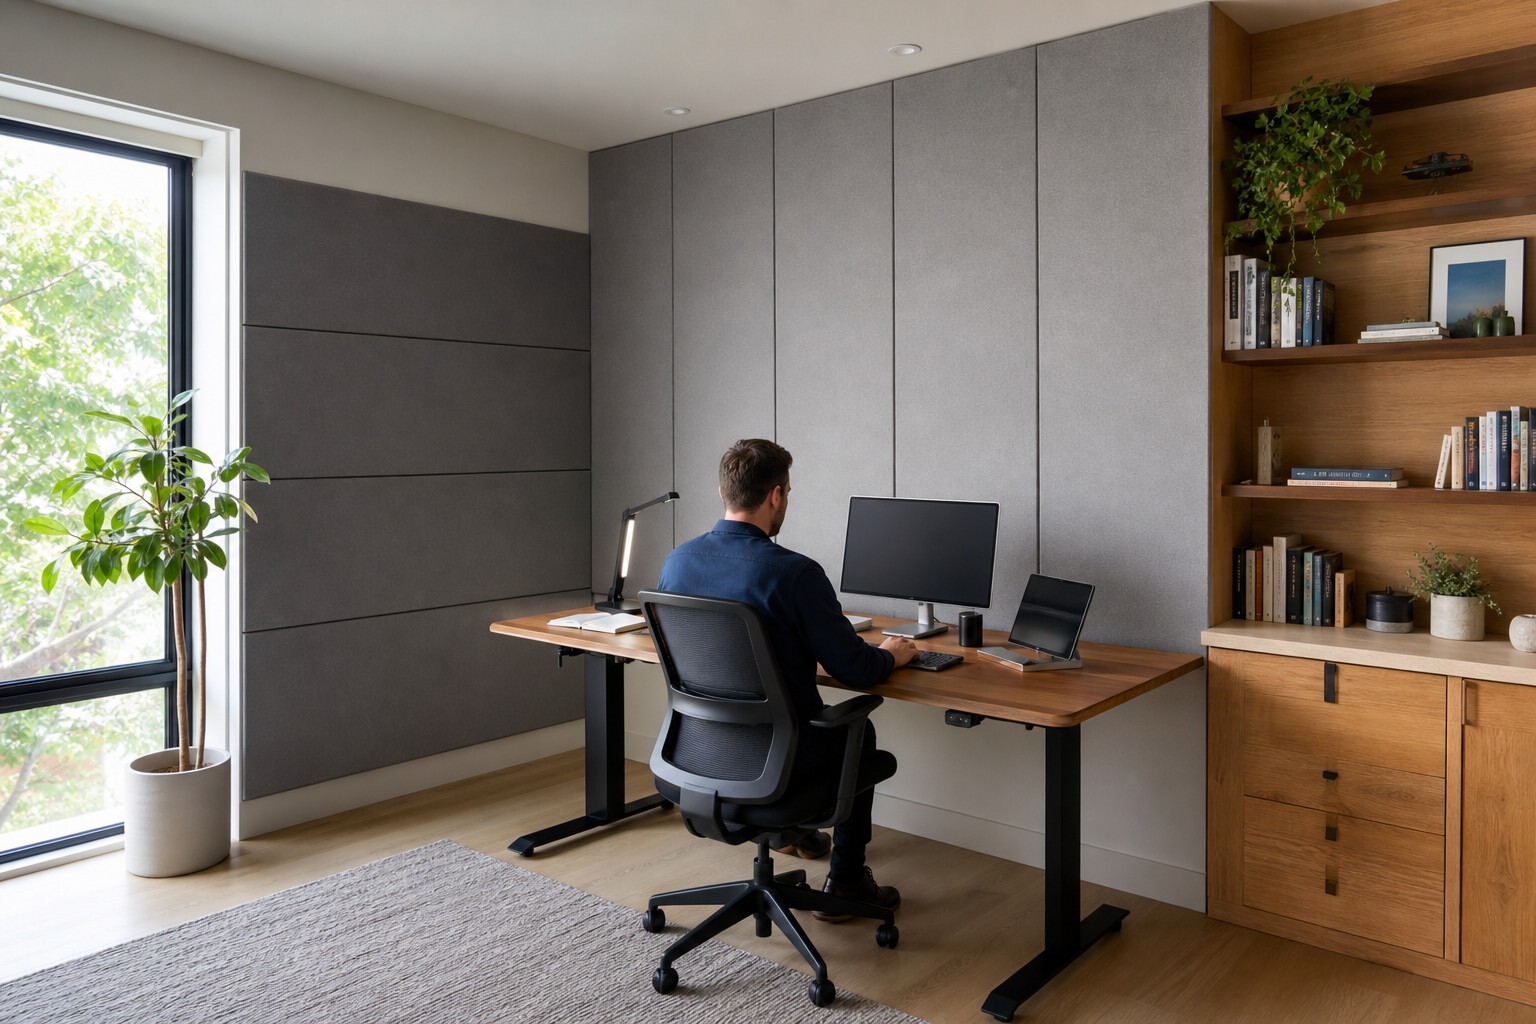
Why Basement Soundproofing Matters More Than You Think
Basements are the most versatile rooms in a home — home theatres, music studios, gyms, rental units, and home offices all end up below grade. But they’re also the most common source of noise complaints within a household. Sound travels up through the ceiling into living areas, and outside noise transmits through foundation walls with surprising ease.
Knowing how to soundproof a basement properly — before you finish the space — saves thousands compared to retrofitting later. And understanding the difference between sound absorption and sound blocking prevents the most common mistake homeowners make: buying foam panels and wondering why they can still hear everything.
Understanding Sound Transmission: Airborne vs Impact
The Two Types of Noise You’re Fighting
Before choosing materials, understand what kind of sound you’re dealing with:
- Airborne sound: Music, voices, TV audio, and any noise that travels through the air and vibrates through surfaces. This is what you hear when someone talks loudly in the basement and the sound carries upstairs.
- Impact sound: Footsteps, dropped objects, exercise equipment hitting the floor, drum kicks — any vibration that’s created by physical contact with a surface and transmits through the structure. Impact noise is often the bigger problem because it travels through solid materials (joists, subfloor) very efficiently.
Effective basement soundproofing addresses both types. A solution that blocks airborne sound but ignores impact noise will leave you frustrated — and vice versa.
The Four Principles of Soundproofing
Every soundproofing strategy uses some combination of these four principles:
- Mass: Heavy, dense materials are harder for sound waves to vibrate through. Adding layers of drywall or mass-loaded vinyl (MLV) increases the mass of walls and ceilings.
- Damping: Converting sound energy into heat using viscoelastic compounds. Green Glue between drywall layers is the classic example — sound vibration shears the compound, dissipating energy before it can transmit through.
- Decoupling: Breaking the physical connection between two surfaces so vibrations can’t travel across. Resilient channels, isolation clips, and staggered-stud walls create air gaps that interrupt sound transmission.
- Absorption: Filling cavities with soft, porous material (mineral wool, fibreglass) to trap airborne sound and prevent it from bouncing and amplifying within wall and ceiling cavities.
The most effective soundproofing uses all four principles together. Using just one or two delivers partial results.
Soundproofing the Ceiling — Your Biggest Priority
Why the Ceiling Matters Most
In most basements, the ceiling is the primary sound transfer path to the rest of the house. Sound from a basement home theatre, gym, or music room travels directly upward through the floor joists and subfloor into the living space above. If you only soundproof one surface, make it the ceiling.
Option 1: Insulation + Double Drywall with Damping Compound
The most cost-effective approach for significant noise reduction:
- Fill joist cavities with mineral wool insulation (Roxul/Rockwool Safe’n’Sound is purpose-built for this). This absorbs airborne sound within the cavity.
- Install the first layer of 5/8″ Type X drywall directly to the joists.
- Apply damping compound (Green Glue or equivalent) to the back of a second drywall layer.
- Screw the second layer through the compound into the first.
Expected reduction: STC 50–55 (a significant reduction — normal conversation from the basement becomes inaudible upstairs).
Option 2: Decoupled Ceiling with Resilient Channels or Clips
For maximum performance, especially against impact noise:
- Fill joist cavities with mineral wool insulation.
- Install resilient channels (hat channels) or sound isolation clips with hat channel perpendicular to the joists. This mechanically decouples the drywall from the structure.
- Attach drywall to the channels — never directly to the joists (this “short-circuits” the decoupling and defeats the purpose).
- For maximum performance, use double drywall with damping compound on the decoupled channels.
Expected reduction: STC 55–65 with clips and double drywall. This is near-professional studio level and handles both airborne and impact noise effectively.
What About Drop Ceilings?
Standard drop ceilings (suspended ceiling tiles) provide almost zero soundproofing. The lightweight tiles don’t block sound, and the air gap actually allows sound to travel more freely. If you want a drop ceiling for aesthetics, you’ll need to add mass and absorption above the grid — essentially building a soundproofed layer behind the suspended ceiling, which adds cost and reduces headroom. For a better approach, consider acoustic drop ceiling panels designed specifically for noise reduction.
Soundproofing Walls and Floors
Basement Walls
If your basement shares walls with neighbours (townhouse, semi-detached) or if you need to contain sound within the basement (music room, rental unit), walls need treatment too:
- Best approach: Build a new stud wall 1″ away from the existing wall (decoupled), insulate the cavity with mineral wool, and finish with double drywall and damping compound. The air gap plus insulation plus mass creates an extremely effective sound barrier.
- Budget approach: Add mass-loaded vinyl (MLV) over the existing wall, then a layer of drywall over the MLV. This adds mass without building a new wall — less effective than a decoupled wall, but meaningful improvement over bare concrete or single drywall.
Basement Floors
Floor treatment matters primarily for impact noise — footsteps, exercise equipment, children playing:
- Floating floor: A subfloor layer installed over rubber underlayment or closed-cell foam, not attached to the concrete slab. This decouples the finished floor from the structure, reducing impact noise transmission.
- Rubber matting: For gym or play areas, thick rubber mats (3/8″ to 3/4″) absorb impact energy before it reaches the slab. Interlocking rubber tiles are easy to install and replace.
- Carpet and pad: The simplest option. A quality carpet with thick pad reduces impact noise significantly and absorbs some airborne sound within the room. Not as effective as a floating floor, but far better than bare concrete or laminate.
Sound Absorption vs Soundproofing: Know the Difference
This is the single most common mistake in basement soundproofing. Acoustic panels, foam tiles, and fabric-wrapped boards are sound absorption products — they improve sound quality within a room by reducing echo and reverberation. They do very little to stop sound from passing through walls or ceilings to adjacent spaces.
If your goal is to stop sound from leaving the basement (or entering it), you need mass, damping, and decoupling — not absorption panels on the walls. Absorption is the finishing touch that improves acoustics inside the room after the soundproofing structure is in place. For home office setups where echo and call quality matter more than full sound isolation, absorption alone may be sufficient.
DIY vs Professional Installation
What You Can DIY
- Installing mineral wool insulation in open joist cavities
- Hanging a single layer of drywall (if you have experience)
- Laying rubber mats or carpet
- Installing acoustic panels for in-room sound quality
What Needs Professional Help
- Resilient channel and isolation clip installation (incorrect installation negates the benefit — one misplaced screw can short-circuit the entire decoupled system)
- Double drywall with damping compound (heavy, precision work)
- Building decoupled stud walls
- Any work involving electrical, plumbing, or HVAC routing behind soundproofing layers
The biggest risk with DIY soundproofing is flanking paths — sound finding an alternative route around your treatment through gaps, outlets, ducts, or structural connections. A professional identifies and addresses these paths. A DIYer often misses them, ending up with an expensive ceiling treatment that’s undermined by sound leaking through an unsealed duct or an untreated wall-ceiling junction.
Cost Estimates for Basement Soundproofing
Costs for a typical 500–800 sq ft basement (ceiling treatment is the primary variable):
| Treatment Level | What’s Included | Estimated Cost (Materials + Labour) |
|---|---|---|
| Basic | Mineral wool insulation + single drywall ceiling | $2,000–$4,000 |
| Mid-Range | Mineral wool + double drywall with damping compound | $4,000–$7,000 |
| Premium | Isolation clips + mineral wool + double drywall with damping + wall treatment | $8,000–$15,000 |
| Professional Studio | Full room-within-a-room (decoupled ceiling, walls, floating floor) | $15,000–$30,000+ |
Materials alone (DIY) run 40–60% of these totals. Labour is the larger cost because soundproofing installation requires precision — shortcuts directly reduce performance.
FAQ
Can you soundproof a basement after it’s finished?
Yes, but it’s more disruptive and expensive. You’ll likely need to remove existing drywall to add insulation and decoupling, then refinish. If you’re planning a basement renovation, build soundproofing into the project from the start — it’s significantly cheaper than retrofitting. Learn more about optimal placement strategies for acoustic treatments.
Do acoustic foam panels soundproof a basement?
No. Foam panels absorb sound reflections within a room (reducing echo), but they don’t block sound from passing through walls or ceilings. Soundproofing requires mass, damping, and decoupling — not surface-mounted foam.
What’s the cheapest way to reduce basement noise?
Adding mineral wool insulation to open joist cavities and laying carpet with thick underpad is the lowest-cost improvement. For ceilings, a single layer of 5/8″ drywall over insulated joists provides meaningful airborne noise reduction. These won’t achieve full soundproofing but improve the situation significantly for under $3,000 in a standard basement.
How much does it cost to soundproof a basement ceiling?
For a 500–800 sq ft ceiling, expect $2,000–$4,000 for basic insulation and drywall, $4,000–$7,000 for double drywall with damping, or $8,000–$12,000 for a decoupled system with isolation clips. DIY saves on labour but requires precision to avoid flanking issues.
Build It Right the First Time
Basement soundproofing is one of those projects where doing it properly upfront saves dramatically compared to fixing it later. The difference between a finished basement where you can hear every footstep and TV channel, and one that’s genuinely isolated from the rest of the house, comes down to understanding the four principles and applying them systematically.
Whether you’re building a home theatre, setting up a music room, or creating a rental suite, start with the ceiling, address the walls where needed, and don’t confuse sound absorption with sound blocking. Request a quote for acoustic solutions tailored to your basement project.