You’ve invested in acoustic panels — now where do they go? An acoustic panel placement guide matters more than most people realize, because panels in the wrong location absorb almost nothing. A well-placed panel at a key reflection point can reduce echo and reverberation dramatically, while that same panel on an unused wall does next to nothing.
This guide covers exactly where to install acoustic panels for offices, meeting rooms, open-plan workspaces, and home studios. You’ll learn how to identify reflection points, how much coverage to aim for, and the most common placement mistakes that waste both panels and money.
Understanding How Sound Moves in a Room
Before placing a single panel, it helps to understand the basic physics at work. When someone speaks or a sound is produced, sound waves travel outward in all directions. These waves hit surfaces — walls, ceilings, floors, glass partitions — and bounce back into the room. Those bounced reflections are what create echo, reverberation, and the muddy audio quality that makes spaces uncomfortable.
What Are Reflection Points?
A reflection point is any surface where sound bounces before reaching a listener’s ears. The first reflection points — the surfaces closest to the sound source where sound hits first — are the most important ones to treat. These early reflections carry the most energy and contribute the most to echo and poor speech clarity.
Identifying first reflection points is straightforward: imagine a direct line from the speaker or sound source to the listener. Now imagine that same sound bouncing off the nearest wall, ceiling, or glass surface on its way to the listener. The spot on that surface where the bounce occurs is the first reflection point.
How Much Coverage Do You Need?
A common misconception is that every surface needs panels. In reality, over-treating a room creates an unnaturally dead, uncomfortable acoustic environment. The goal is balanced absorption — enough to control echo and improve speech clarity without removing all natural room sound.
As a general guideline, treating 20–40% of the total wall and ceiling surface area delivers excellent results for most commercial and office spaces. The panel estimator tool can help you calculate the exact number of panels for your room dimensions.
Panel Placement for Open-Plan Offices
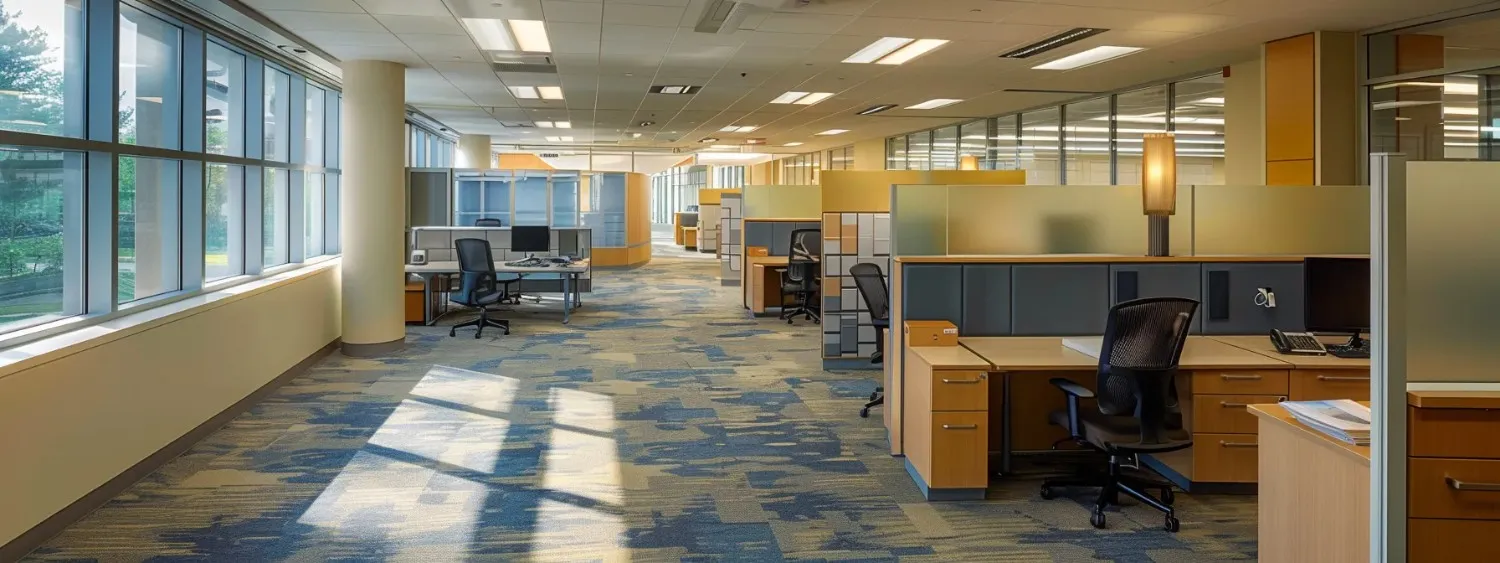
Open-plan offices are the most acoustically challenging environments because sound travels freely across large, open floor areas with no barriers to stop it. The priority here is controlling horizontal sound travel and treating the two surfaces that contribute most to noise buildup.
Ceiling Treatment
In open-plan offices, the ceiling is your most impactful treatment surface. Sound from conversations, phone calls, and keyboards rises and reflects off the ceiling back down across the entire floor. Install ceiling panels or acoustic clouds directly above clusters of desks and workstations. This captures speech energy before it has a chance to bounce across the room.
Suspended ceiling baffles are particularly effective in spaces with exposed ceilings or high ceilings where flat panel mounting isn’t practical.
Perimeter Wall Treatment
Mount wall panels on the perimeter walls at seated speech height — roughly 1.2 to 1.5 metres (4 to 5 feet) off the floor. This is where most voices originate when people are seated at desks, and it’s where direct speech hits the surrounding walls first.
Focus on the longest walls first, as these produce the strongest reflections. If you have limited budget, treating the two longest opposing walls and the ceiling above workstations will deliver the most noticeable improvement in measurable acoustic performance.
Panel Placement for Meeting and Conference Rooms
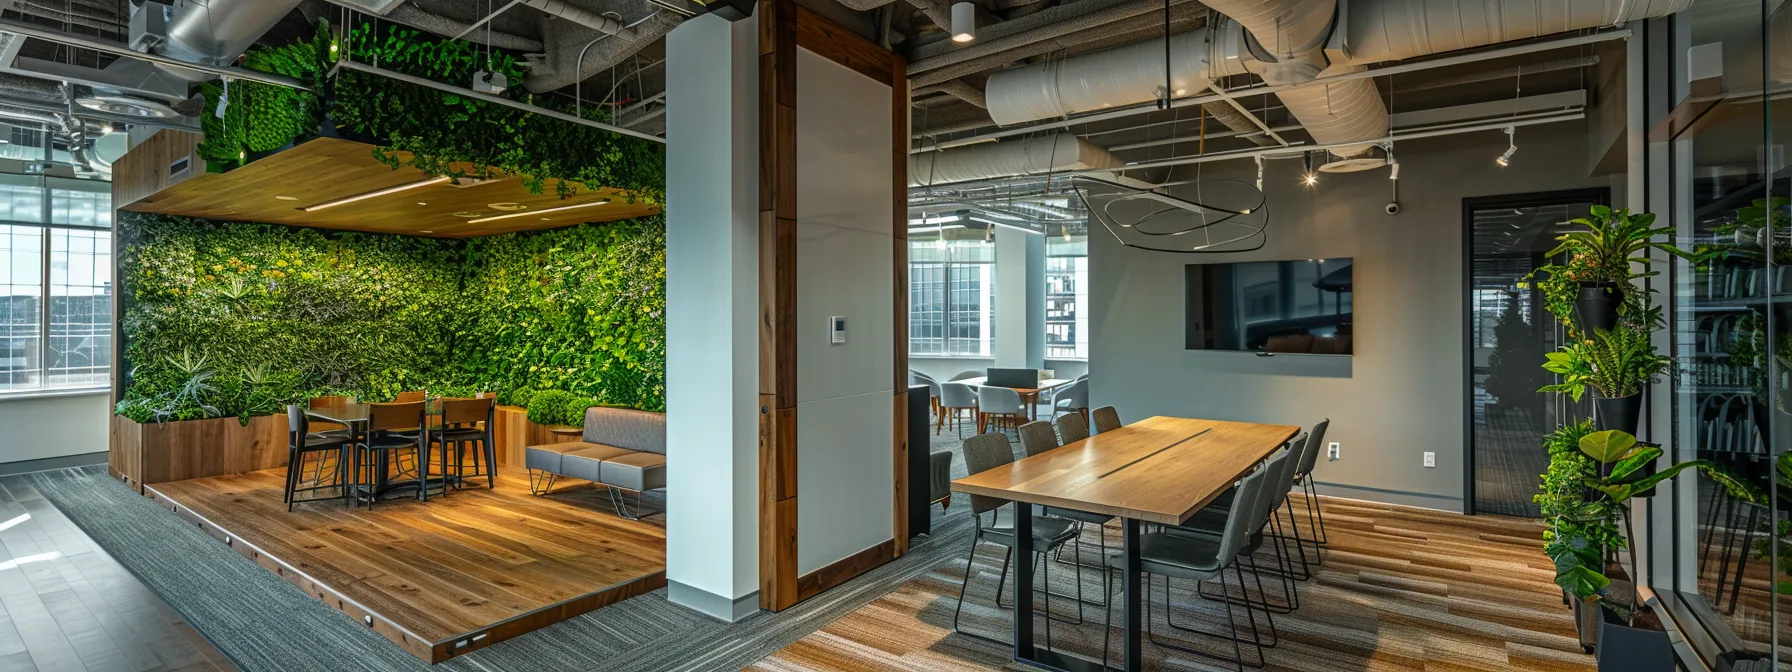
Meeting rooms have different acoustic priorities than open offices. Here, the goal is speech intelligibility — making sure everyone in the room (and on video calls) can hear the speaker clearly without competing with echo or reverb.
The Wall Behind the Display or Speaker
The wall behind the main display or presentation screen is a high-priority treatment surface. Direct speech from participants bounces off this wall and returns to the group, creating a doubling effect that muddies audio — especially on video calls where microphones pick up both the direct and reflected sound.
The Opposite Wall
The wall directly opposite the speaker or display receives the strongest direct sound energy. Treating this surface prevents the most powerful reflections from bouncing back across the conference table.
Side Wall Reflection Points
Place panels on both side walls at the first reflection points — the spots roughly midway between the speaker and listeners where sound bounces off the side wall on its way across the table. If you’re unsure of exact positions, placing panels centred at seated height along the middle third of each side wall is a reliable approach.
Ceiling Clouds
If the conference room has a hard ceiling (drywall, concrete, or tile), add a ceiling cloud or suspended panel directly above the conference table. This is critical for rooms used frequently for video calls, as ceiling reflections are a major cause of echo that remote participants hear.
Panel Placement for Home Studios and Offices
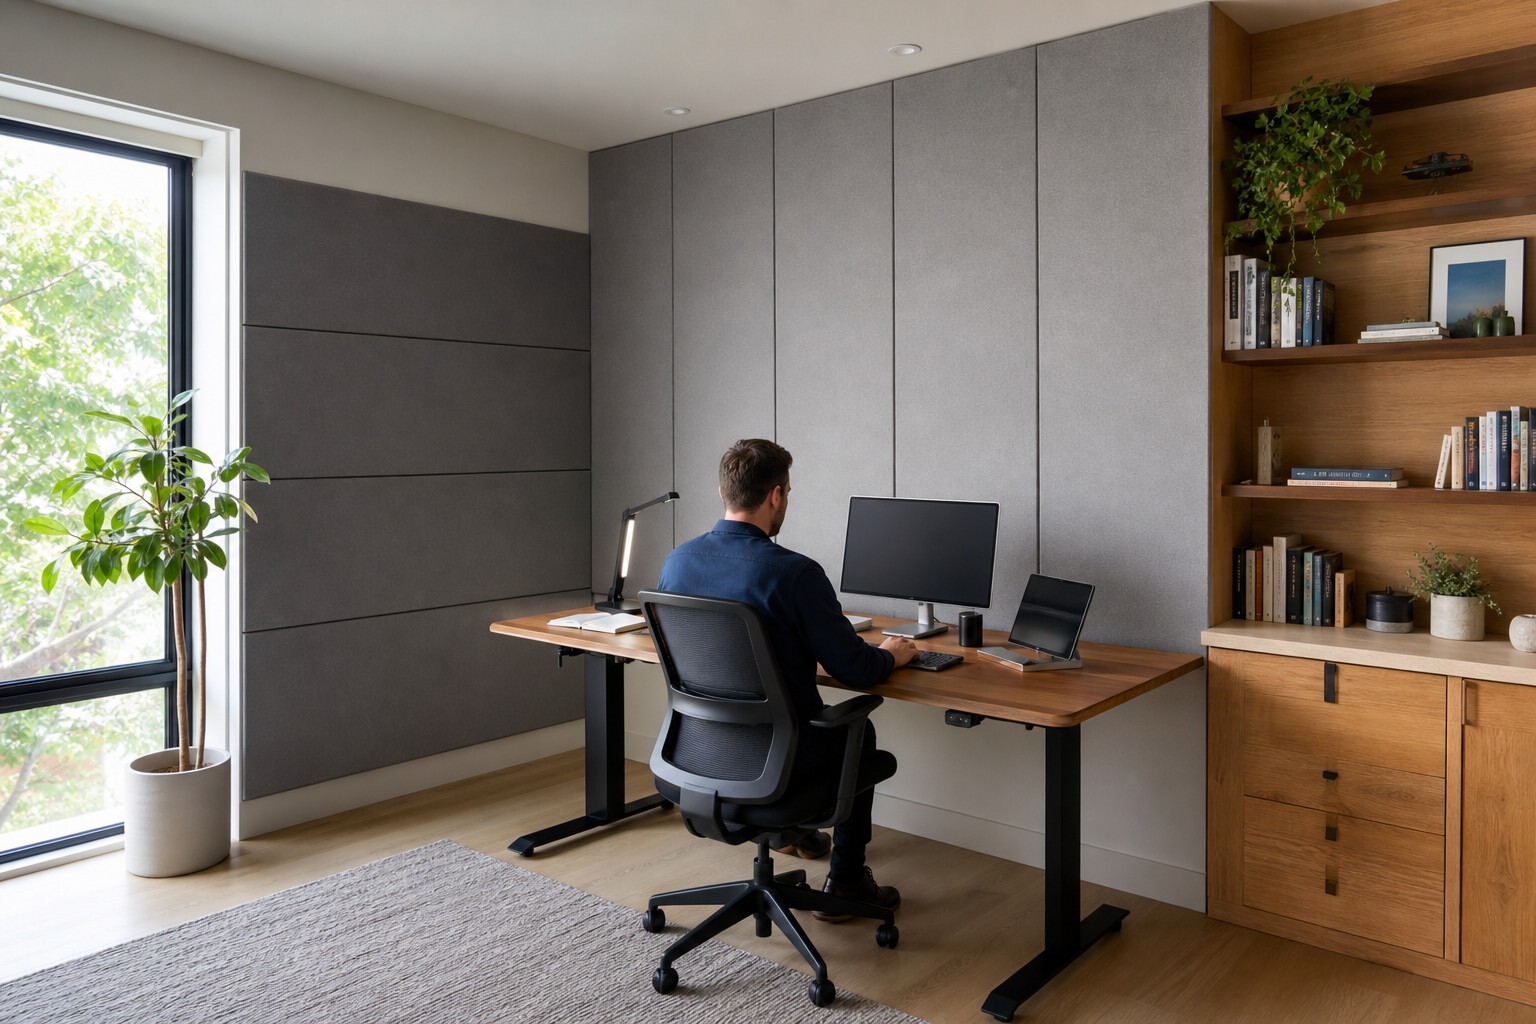
Home studios and home offices used for remote work benefit from targeted placement at a few key positions. Unlike commercial spaces, you often don’t need many panels — just the right ones in the right spots.
Behind and Beside the Monitor or Camera
If you take video calls or record audio, place panels on the wall directly behind your screen or camera. This is the surface that reflects your voice back toward the microphone, causing that hollow, echoey sound on calls. Two to three panels centred behind your monitor will make a noticeable difference.
First Reflection Points on Side Walls
Sit at your desk and have someone slide a mirror along each side wall. When you can see your monitor or speaker in the mirror’s reflection, you’ve found the first reflection point. Place a panel there. This technique works in any room and identifies the exact positions where treatment will have the most impact.
Behind the Listening Position
For music studios or mixing rooms, the wall behind the listener is a secondary reflection point. Treating this surface reduces flutter echo — the rapid back-and-forth bounce between two parallel hard surfaces — and tightens the overall sound of the room.
Common Placement Mistakes to Avoid
Even with good panels, poor placement undermines results. These are the most common mistakes that waste panels and money:
Covering Every Surface
A room needs a mix of hard and soft surfaces to sound natural. Over-treating creates an acoustically dead space where voices sound flat, unnatural, and uncomfortably muted. Aim for 20–40% coverage, not 100%.
Placing Panels Too High or Too Low
Panels placed near the floor or at the top of a wall miss the zone where most sound energy travels. For office and meeting room applications, centre panels at seated speech height (1.2–1.5 metres). For standing environments or mixed-use spaces, raise the centre point to 1.5–1.8 metres.
Ignoring the Ceiling
The ceiling is often the largest untreated hard surface in a room. In open-plan offices and conference rooms, ceiling treatment frequently delivers more acoustic improvement than wall panels alone. Don’t skip it.
Treating Only One Wall
Sound bounces between opposing surfaces. Treating one wall while leaving its opposite surface bare still allows reflections to build up. Distribute panels across multiple walls for balanced absorption.
Forgetting Glass Surfaces
Glass walls, windows, and partitions are highly reflective. In glass-heavy offices, acoustic curtains, movable screens, or panels adjacent to glass surfaces help control the reflections that glass creates.
Choosing the Right Panel Type for Each Location
Different positions often call for different panel types:
- Walls: Standard fabric-wrapped acoustic panels (25mm or 50mm thickness) work well for most wall applications. Thicker panels absorb lower frequencies more effectively.
- Ceilings: Acoustic clouds, baffles, or ceiling-mount panels. Choose suspended designs for rooms with high or exposed ceilings.
- Glass partitions: Acoustic curtains or freestanding screens provide absorption without permanent installation.
- Desks: Desktop acoustic dividers provide privacy and absorption at the point of origin — where the voice is produced.
Frequently Asked Questions
How many acoustic panels do I need for my room?
The number depends on room size, ceiling height, and the level of sound control required. As a starting point, aim to cover 20–40% of wall and ceiling surfaces. Use our panel estimator for a quick calculation based on your room dimensions.
Do acoustic panels block sound from entering a room?
No. Acoustic panels absorb sound within a room, reducing echo and reverberation. They do not block sound from passing through walls. For sound isolation between rooms, you need soundproofing materials — mass-loaded vinyl, decoupled construction, or specialized insulation.
Can I install acoustic panels myself?
Yes. Most wall-mounted panels can be installed with standard mounting hardware, adhesive strips, or impaling clips. Ceiling installations — especially suspended clouds and baffles — may require professional installation for safety and proper anchoring.
Do panel colour or design choices affect acoustic performance?
No. The acoustic performance of a panel depends on its core material, thickness, and density — not its colour or fabric finish. Choose colours and designs that match your interior aesthetic without worrying about acoustic trade-offs.
Where should I start if I have a limited budget?
Prioritize the ceiling above workstations, the first reflection points on side walls, and the wall opposite the main sound source. These three areas deliver the highest impact per panel.
Get a Custom Acoustic Assessment
Every room is different, and the best panel placement depends on your specific layout, surfaces, and acoustic goals. Imagine Acoustics offers free acoustic assessments to help you identify the ideal panel locations for your space. Contact us to get started — we’ll make sure every panel works exactly where it should.