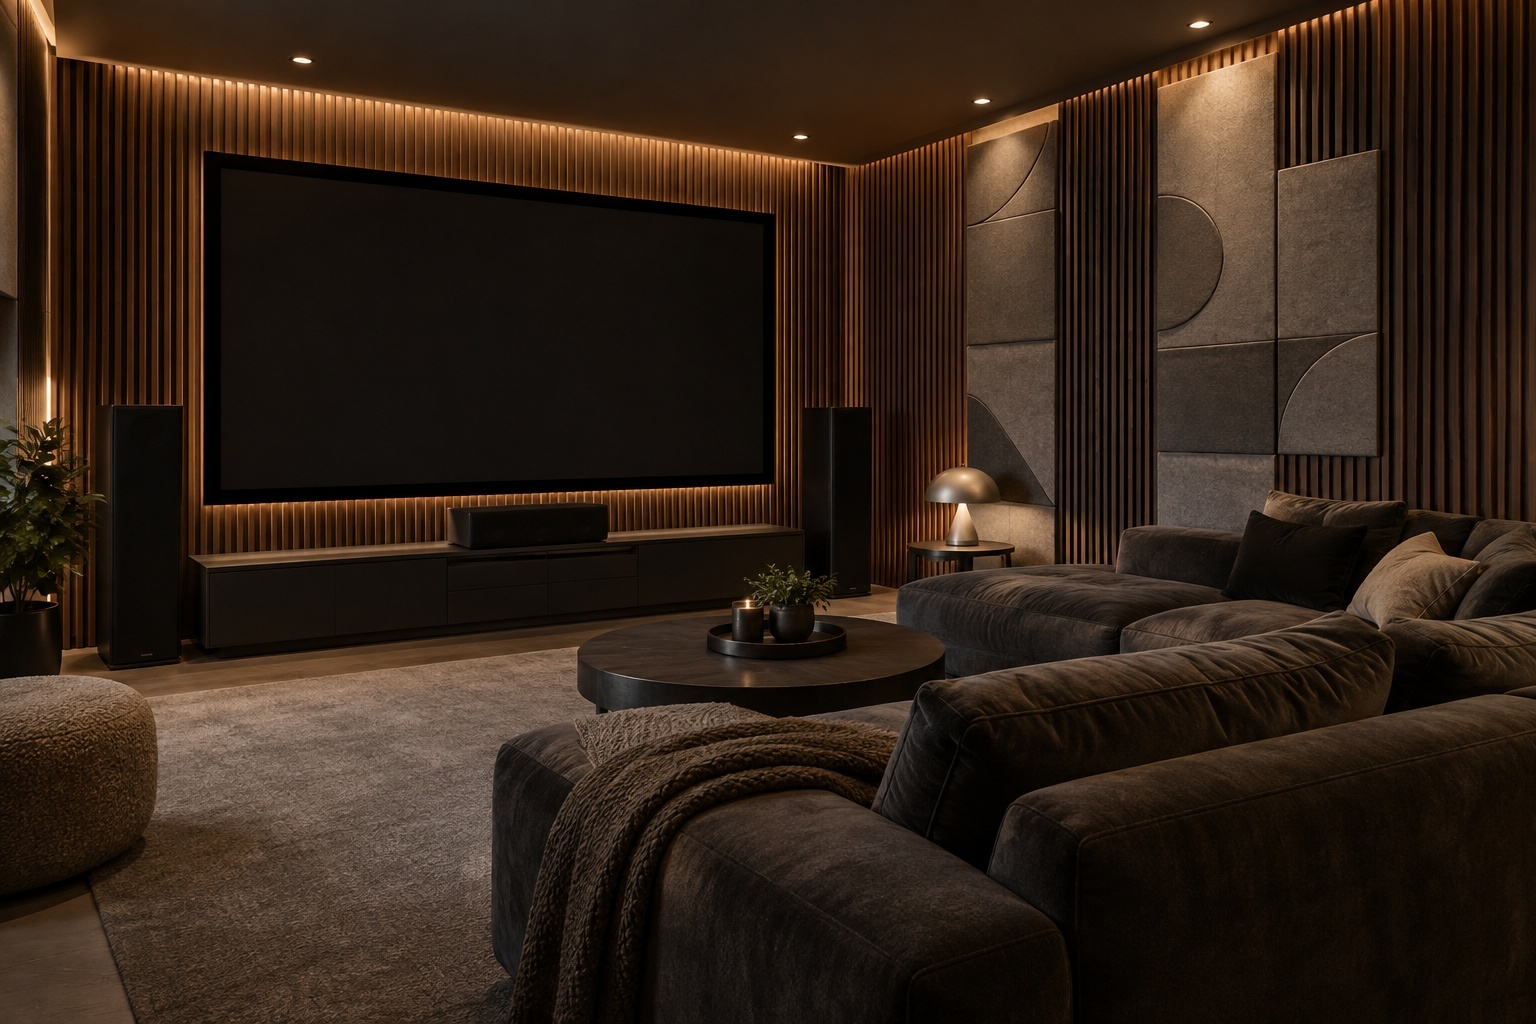
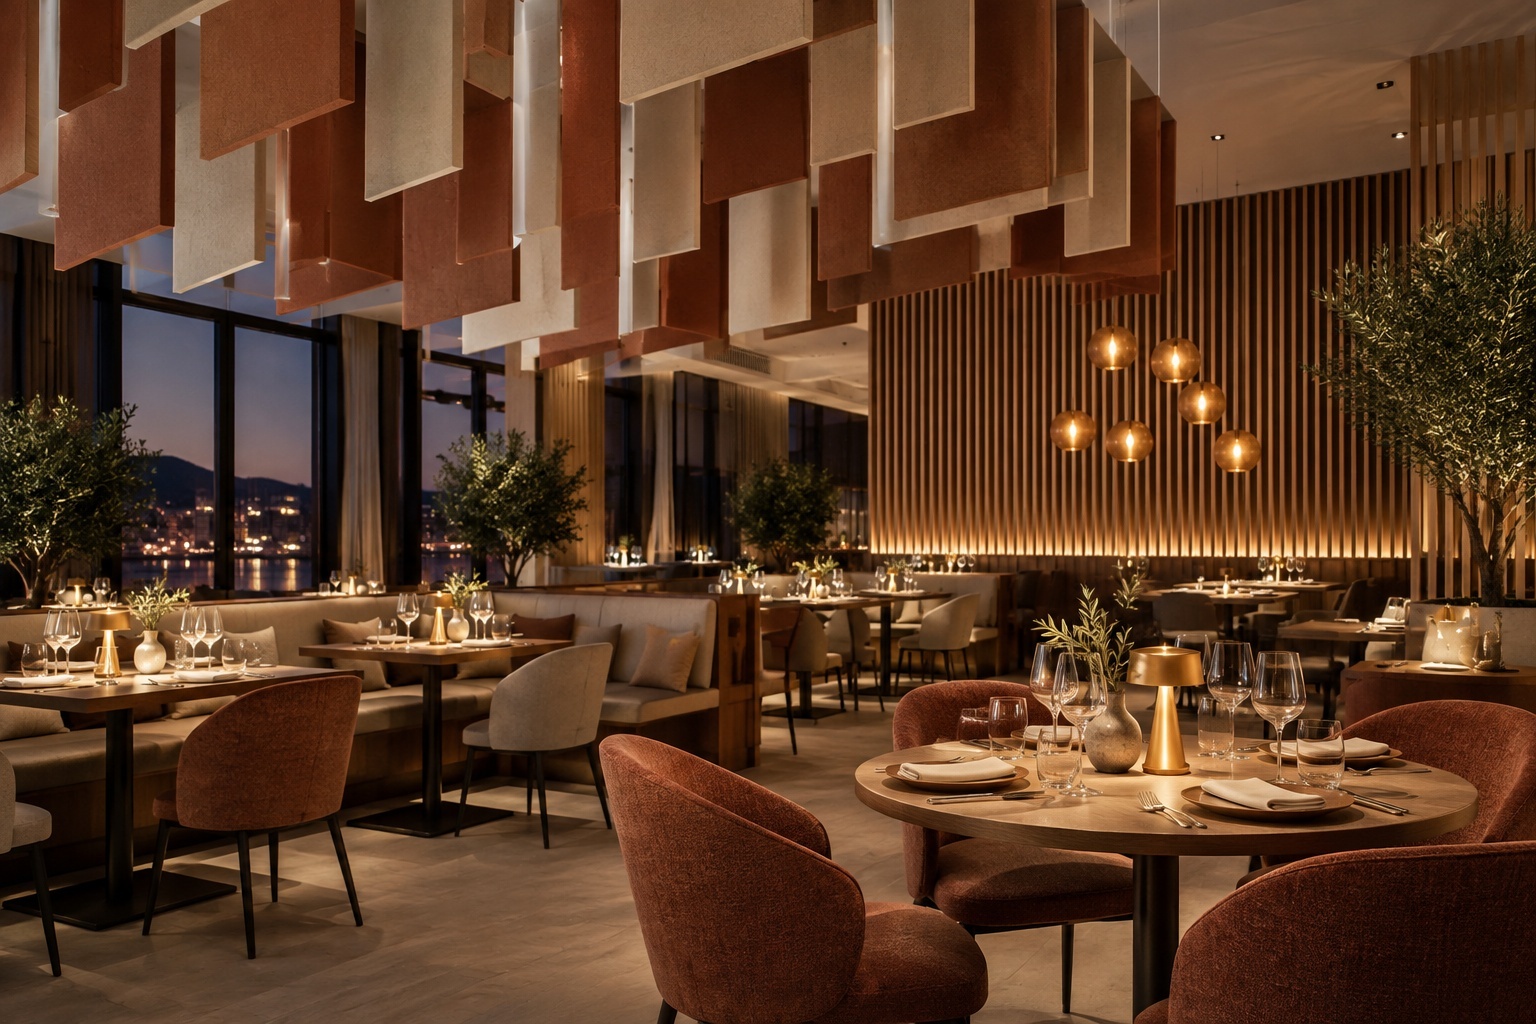
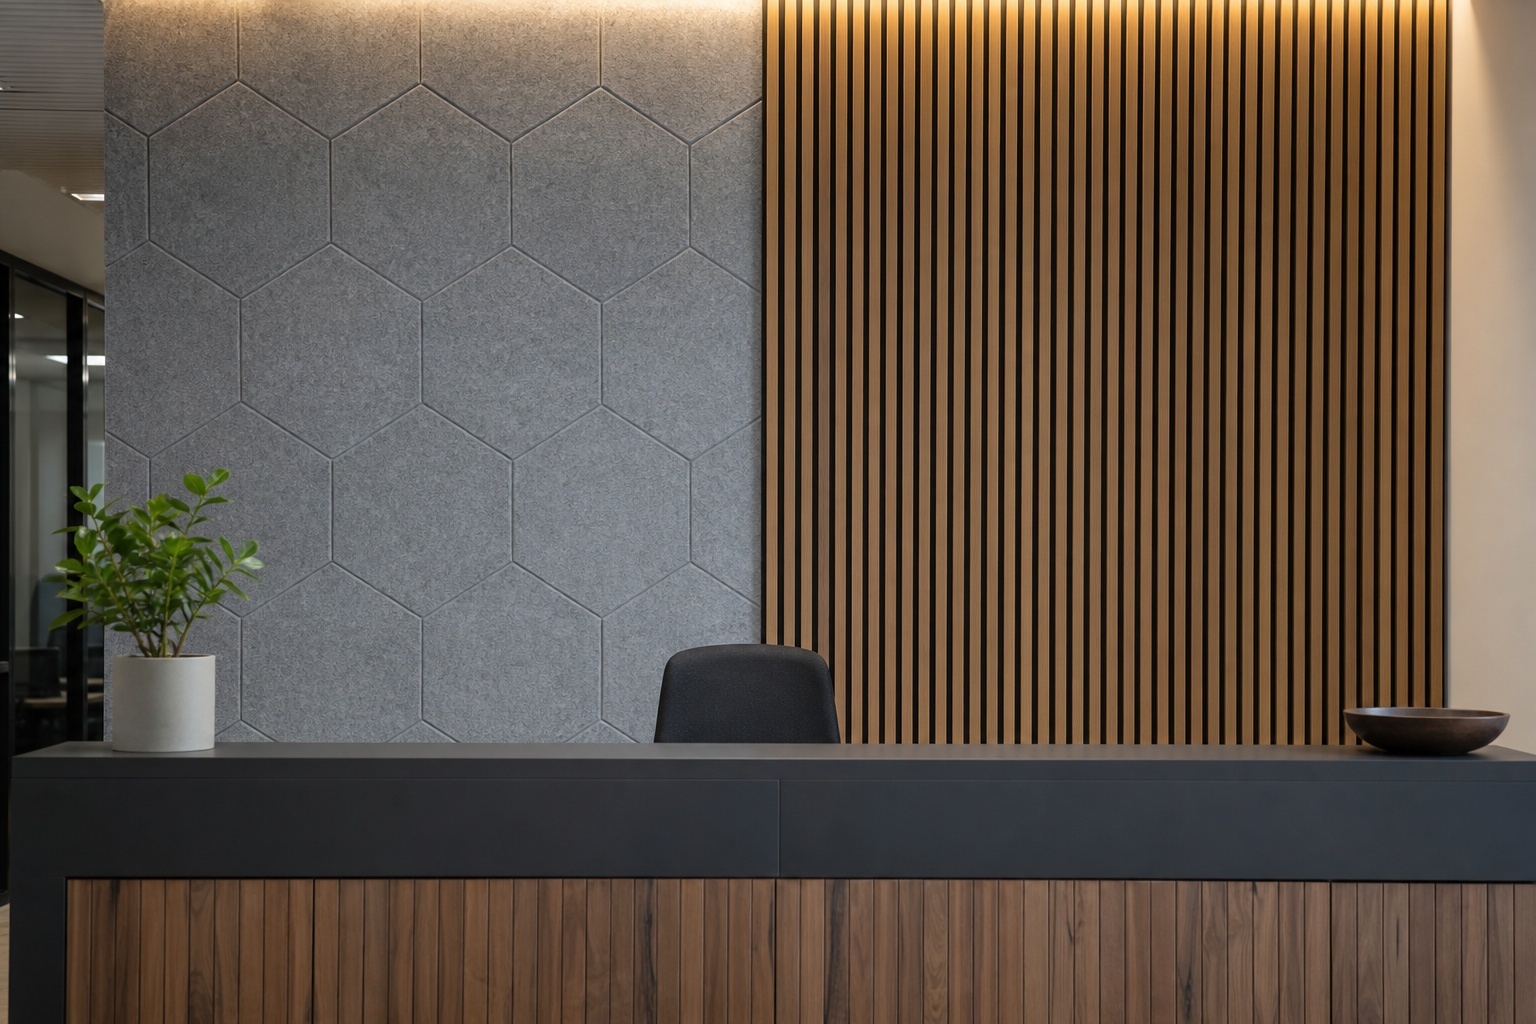
Great microphones can’t fix a bad-sounding room. If your podcast sounds hollow, boomy or echoey, the problem is usually the space, not the gear. The right acoustic panels for a podcast studio or home recording room tame reflections so your voice sounds close, clear and professional, and when you choose decorative panels, they double as a camera-ready backdrop for video podcasts. This guide explains the acoustic problems small rooms create, where to place panels for voice recording, which products work best, and how to design a set that sounds as good as it looks.
Why Off-the-Shelf Foam Isn’t Enough for Recording
Thin, egg-crate style foam squares are often the first thing new podcasters buy. They help a little, but they have real limitations:
- They only absorb high frequencies. Thin foam soaks up the “sss” and sparkle in your voice but does little for the lower-mid frequencies that make a recording sound boomy or muddy. The result can be a room that sounds dull rather than controlled.
- Coverage is usually too small. A few scattered squares don’t stop reflections from the walls closest to your microphone.
- They don’t look good on camera. With video now a standard part of most podcasts, a wall of grey foam signals “bedroom setup” to viewers.
- Durability. Cheap foam can sag, fade and crumble over time.
Denser, purpose-built acoustic panels made from materials like PET felt, or slatted wood over an absorptive backing, absorb a broader range of frequencies and are designed to look like part of the interior.
Key Acoustic Challenges in Small Recording Spaces
Early reflections
Sound from your mouth bounces off nearby walls, the desk and the ceiling, then reaches the microphone a few milliseconds after your direct voice. These early reflections smear the sound and make it feel distant and “roomy.” They are the number one problem in home recording.
Flutter echo
Two parallel, hard surfaces, like bare drywall on opposite sides of a small room, bounce sound back and forth, creating a ringing, metallic flutter. Clap your hands in an empty spare room and you’ll hear it.
Standing waves and bass build-up
In small rooms, certain low frequencies reinforce themselves between walls, especially in corners. This makes deeper voices sound boomy and uneven. Thicker absorption in corners helps, and choosing a mic position away from walls and corners helps even more.
Outside noise
It’s important to be clear: acoustic panels improve how a room sounds, but they won’t stop traffic or a neighbour’s TV from getting in. Blocking outside noise requires construction measures like sealing gaps and adding mass. For most podcasters, treating echo delivers the biggest improvement. Our guide on how to soundproof a home office covers both sides.
Recommended Panel Placement for Podcast & Voice Recording
You don’t need to cover every surface. Focus on the areas that send reflections straight back into the microphone.
1. The wall behind you (the camera wall)
Your microphone points toward you, so it also picks up whatever is directly behind you. Treat this wall first. Conveniently, it’s also the wall your audience sees on camera.
2. The wall you face
Sound leaves your mouth, hits the wall in front of you and bounces back into the mic. Panels here, at mouth height, make a dramatic difference.
3. Side walls at first-reflection points
Sit in your recording position and have someone slide a mirror along the side walls. Anywhere you can see your microphone in the mirror is a reflection point that deserves a panel.
4. The ceiling above the desk
Low ceilings bounce sound straight down. A ceiling cloud or panel above the recording position tightens the sound noticeably.
5. Corners
Thicker or layered panels in corners help control low-frequency build-up.
As a rule of thumb, aim to treat roughly 20% to 40% of the wall surface in a small recording room, concentrated around the recording position. Avoid over-deadening: a room that’s too dead can sound unnatural. For more detail, see our acoustic panel placement guide and our panel quantity estimator.
Product Picks: Felt Tiles, Slat Panels & More That Look Great on Camera
Acoustic felt wall tiles
PET felt wall tiles are lightweight, easy to mount and come in a wide range of colours and geometric shapes. They’re ideal for the camera wall, where you can create a branded pattern or colour-block design. Imagine Acoustics carries several wall options, including felt Wall Tiles and Duet panels.
Slatted wood acoustic panels
Wood slat panels add warmth and a premium, studio-like feel. The combination of wood slats and an absorptive felt backing absorbs sound while the slats add some gentle diffusion, which keeps a room from sounding completely dead. Not sure which material suits your space? Compare acoustic felt wall tiles vs slatted wood panels.
Ceiling panels and clouds
Suspended or surface-mounted ceiling panels treat the reflection above your desk without taking up wall space. Explore acoustic ceiling solutions.
Thicker or layered panels for low-end control
For corners and spots where boominess is an issue, choose thicker panels or mount panels with an air gap behind them, which extends absorption into lower frequencies. Our team can recommend options for your room.
Moss and biophilic accents
Preserved moss panels add a striking natural texture to a set and contribute some absorption, making them a great accent piece behind a host.
Decorative Acoustic Design That Doubles as a Set Background
For video podcasts, your acoustic treatment is part of your brand. A few design tips:
- Use brand colours. Felt tiles come in many colours, so you can echo your logo or show artwork.
- Create depth. Combine vertical wood slats with a coloured felt pattern, or layer tiles in two tones, so the background doesn’t look flat on camera.
- Light the wall. A soft wash of LED light across wood slats or textured felt adds dimension and separates you from the background.
- Keep it uncluttered. A clean, textured wall reads more professional than shelves crowded with props.
- Think in frames. Design the area visible in your camera shot first, then treat the remaining reflection points with simpler panels.
Quick Setup Example: A 10′ x 10′ Spare-Room Studio
Here’s how a typical small home studio might be treated, starting with the highest-impact spots:
- Behind the host: a feature wall of colourful felt wall tiles or a wood slat panel section, roughly the width of the camera frame.
- In front of the host: two or three panels at seated head height on the wall the microphone faces away from.
- Side walls: one panel on each side at the mirror-test reflection points.
- Ceiling: one ceiling panel or cloud directly above the desk.
- Corners: thicker or air-gapped panels in the two corners nearest the desk if voices sound boomy.
Add a rug under the desk, soft furnishings and a bookshelf for extra absorption and diffusion, then record a short test. Listen on headphones for echo, flutter and boominess, and adjust panel positions before adding more. Small moves often make a big difference.
Mic technique still matters
Treatment works best alongside good habits: use a dynamic microphone positioned close to your mouth, keep your distance consistent, and sit away from walls and corners. Together, these choices give you a warm, intimate sound that listeners stay with.
Frequently Asked Questions
How many acoustic panels do I need for a podcast room?
For a small room, covering roughly 20% to 40% of the wall area around the recording position is a good starting point, with priority on the walls behind and in front of you and the first-reflection points.
Will acoustic panels soundproof my podcast studio?
No. Panels reduce echo and reverberation inside the room. Blocking outside noise requires sealing and adding mass to walls, doors and windows.
Are felt panels better than foam for recording?
Dense PET felt panels generally absorb a broader range of frequencies than thin foam, are more durable and look far better on camera.
Where should I put acoustic panels for podcasting?
Start with the wall behind you, then the wall in front of you, then side-wall reflection points and the ceiling above your desk. Add thicker treatment in corners if the room sounds boomy.
Can I install acoustic panels myself?
Yes. Many felt tiles and slat panels are designed for straightforward DIY installation with adhesive or screws.
Build a Studio That Sounds as Good as It Looks
The difference between an amateur and professional-sounding podcast often comes down to a few well-placed panels. With decorative felt tiles, wood slat panels and ceiling solutions, you can control echo and create a memorable on-camera set at the same time. Visit Imagine Acoustics, request a sample, or request a quote to design your podcast or home recording studio.